Skip to content
 Turn off the water supply under the sink, identify your faucet type, disassemble the handle, replace the worn washer, O-ring, or cartridge, and reassemble everything. That is the short answer. If you want to do it right the first time without calling anyone, keep reading because the details below will walk you through every faucet type, every tool you need, and every mistake worth avoiding.
Why That Little Drip Is a Big Deal
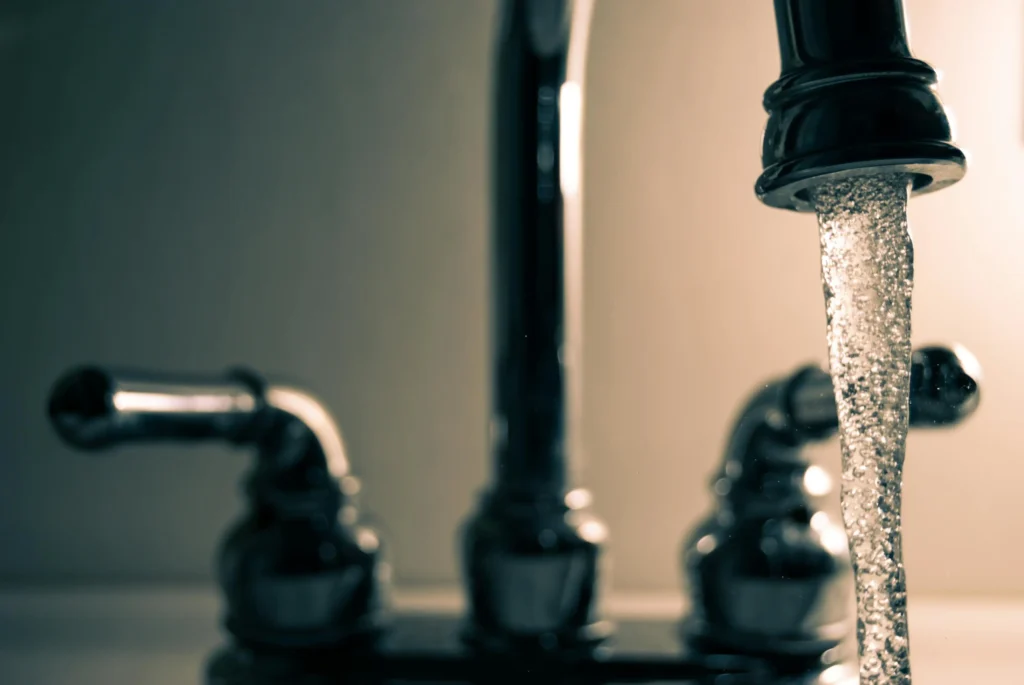
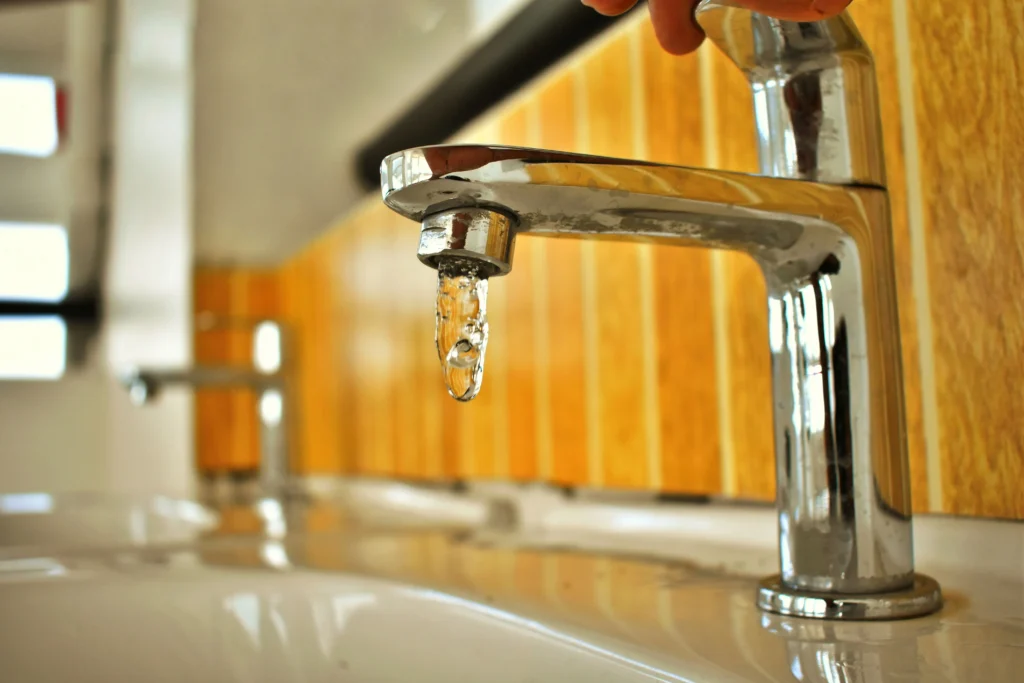
Most homeowners ignore a dripping faucet for weeks, sometimes months. It feels minor. It is not. A single faucet dripping at one drop per second can waste over 3,000 gallons of water annually, which is enough for more than 180 showers, and depending on local utility rates, it can add anywhere from $35 to over $100 to your annual water bill. If that leaking faucet is on the hot water side, you are also paying to heat every wasted drop.
Beyond the bill, constant moisture underneath a sink creates the perfect conditions for mold growth, wood rot, and even pest activity over time. Fixing a leaky faucet is not just a weekend DIY project. It is genuinely one of the most cost-effective maintenance tasks a homeowner can do.
Tools You Will Need Before You Start
Gather everything before you touch the faucet. Running to the hardware store mid-repair with the water shut off is a frustrating experience.
Here is what you will want on hand:
Two adjustable wrenches in different sizes, a flathead screwdriver, a Phillips head screwdriver, needle nose pliers, plumber’s grease, replacement O-rings, a replacement cartridge or washers (depending on faucet type), and thread seal tape. A small bowl or bucket to catch residual water and an old rag to lay parts on will also come in handy.
Most of this is already sitting in a toolbox or available at any hardware store for under $20 total.
Step One: Shut Off the Water Supply
This step cannot be skipped. You will find shut-off valves under the sink, typically located near the water supply lines that lead to the faucet. Shut off both the hot and cold water lines to avoid making a mess when you disassemble the faucet.
After closing the valves, turn the faucet on and let it run until nothing comes out. This releases pressure in the line and drains any remaining water so you are not dealing with unexpected spray during the repair. Place a rag over the drain opening as well. Small screws and O-rings have a way of disappearing down drains at the worst possible moment.
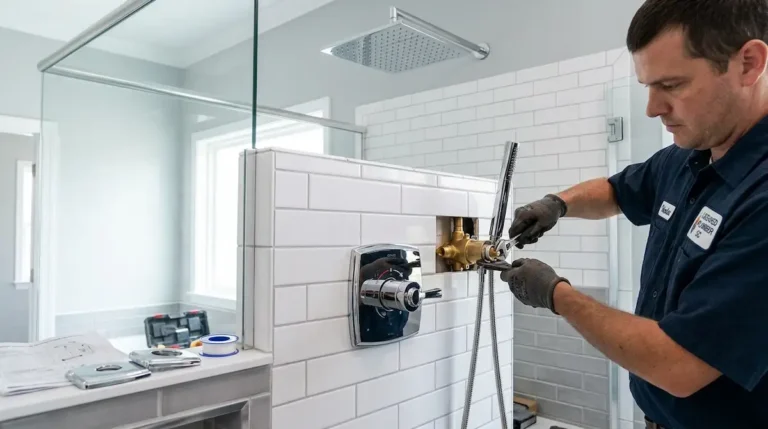
Step Two: Identify Your Faucet Type
Four types of faucets fall into two basic categories: washer and washerless. Compression faucets are the only washer type, while the other three, which are cartridge, ceramic disk, and ball, are washerless.
Getting this right matters because the repair process for each is different.
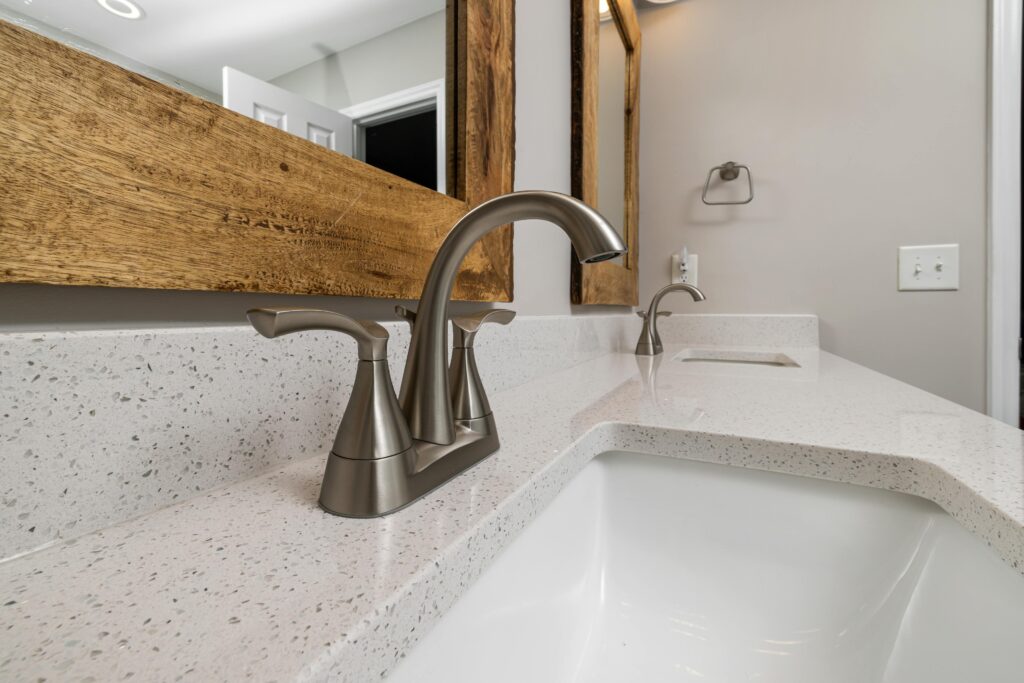
Compression Faucets
These are the older style with two separate handles, one for hot and one for cold. You have to twist them several rotations to open and close the water. Compression faucets rely on rubber washers to stop water flow and are most commonly found in homes built before 1980.
Cartridge Faucets
Cartridge faucets come in single or double-handle versions and have a smooth turning motion. Inside, a replaceable cartridge controls water flow. Brands like Moen and Pfister use this design extensively.
Ball Faucets
Ball faucets are usually found in kitchens and have a single handle that rotates over a rounded, ball-shaped cap. Several small parts inside can wear out. Delta faucets frequently use this mechanism.
Ceramic Disk Faucets
Ceramic disk faucets have a wide, cylindrical body with a single lever handle and use ceramic disks and neoprene seals, which are very durable. These are typically found in higher-end Kohler and American Standard models and rarely need repair, but when they do, the issue is usually sediment buildup or a cracked disk.
How to Fix a Compression Faucet
Compression faucets are the most straightforward to repair and the most prone to leaking, so they are a good starting point.
Remove the decorative cap on top of the handle, unscrew the handle screw underneath it, and pull the handle off. You will see a packing nut below. Use your adjustable wrench to loosen it, then pull out the stem assembly.
At the bottom of the stem, you will find a rubber washer held in place by a brass screw. That washer is almost always the culprit. Replace it with one that matches exactly in size and shape. While you have the stem out, inspect the O-ring around the body of the stem and replace that too if it looks cracked or flattened. Apply a thin coat of plumber’s grease to the new O-ring before reinstalling.
Reassemble everything in reverse order, restore the water supply, and test.
How to Fix a Cartridge Faucet
Remove the handle by popping off the decorative cap and unscrewing the screw beneath it. Once the handle is off, you will see the cartridge itself. Depending on the brand, it may be held in by a retaining clip or a retaining nut.
Pull the cartridge straight up and out. Take it with you to the hardware store to match the replacement exactly, because cartridge sizes vary considerably between brands and even between product lines from the same brand. Moen, for example, has several different cartridge types across their lineup.
Slide the new cartridge in with the tabs aligned to the slots, secure it with the retaining clip or nut, reattach the handle, and turn the water back on slowly.
How to Fix a Ball Faucet
Ball faucets have the most internal parts of any faucet type, which makes them slightly more involved to repair. The honest advice here is to buy a ball faucet repair kit at your local hardware or plumbing supply store. These kits contain all the O-rings, springs, seats, and a replacement ball for your specific faucet model, and they cost much less than buying parts individually.
Remove the handle by loosening the set screw on the side or front of the handle base. Lift off the handle, unscrew the cap and collar, and use needle nose pliers to remove the cam and ball assembly. Beneath the ball, you will find two small springs with rubber valve seats sitting on top of them. Remove and replace all of these components using the kit. Also replace the O-rings around the faucet body.
Reassemble from the bottom up, making sure the ball is seated properly before securing the cap.
How to Fix a Ceramic Disk Faucet
When ceramic disk faucets leak, it is usually because debris has gotten between the disks or one of the disks has cracked. Unlike other faucet types, cleaning rather than replacing parts often solves the problem.
Remove the handle, unscrew the escutcheon plate, and lift out the ceramic disk cylinder. Take out the ceramic disks carefully. These are more fragile than metal components and will crack if dropped.
Soak the ceramic disks in white vinegar for several hours to dissolve mineral buildup, then use a soft brush to gently clean the disk surfaces and inlet ports. Rinse thoroughly with clean water before reassembling. If a disk is visibly cracked, replace the entire cylinder.
Reinstall the cylinder, making sure the outlet ports are aligned. Reattach the handle and restore the water supply.
Where Is the Leak Coming From? A Quick Diagnostic
Not every faucet leak originates from the same place, and knowing where the water is appearing can save you a lot of disassembly time.
Dripping from the spout when the faucet is off points to a worn washer, deteriorated O-ring, or a failing cartridge inside the faucet body.
Leaking around the base of the faucet usually indicates that the O-rings sealing the body to the sink deck have deteriorated. These are replaced by removing the faucet handles and accessing the lower body O-rings directly.
Water pooling under the sink may not be a faucet problem at all. Check the supply line connections where the braided steel hoses connect to both the shut-off valves and the faucet inlets. A loose connection or cracked supply line hose is a common source of under-sink moisture that gets mistaken for a faucet leak.
Leaking from the handle area typically means the packing around the stem has worn out on a compression faucet, or that the cartridge O-rings have deteriorated on a cartridge faucet.
Common Mistakes to Avoid
Skipping the aerator check is one of the most overlooked steps in faucet repair. Dirty aerators can cause faucet leaks. Examine the aerator to see if it is clogged with debris, remove any particles, and check if the leak has resolved before doing anything more involved. Sometimes the fix takes thirty seconds and costs nothing.
Using the wrong replacement parts is another common issue. O-rings come in dozens of sizes and the difference between them is measured in fractions of a millimeter. Always bring the old part to the store rather than guessing.
Overtightening during reassembly is a mistake that creates new problems. Stripped threads and cracked fittings are almost always the result of too much force. Hand tight plus a quarter turn with a wrench is usually sufficient for most faucet connections.
When to Call a Plumber in Columbia South Carolina
Some faucet repairs genuinely fall outside the DIY zone, and knowing when to make that call is just as important as knowing how to pick up a wrench.
If you notice corrosion on the valve seat deep inside the faucet body, standard washer replacement will not hold. A corroded valve seat needs to be resurfaced or replaced, and that typically requires a seat wrench tool and some experience. Similarly, if you find that water is seeping through the wall behind the faucet, or if the supply lines themselves are showing cracks or mineral encrustation, what started as a dripping tap has now moved into territory that warrants a professional assessment.
Homeowners in the Columbia, South Carolina area who deal with older homes, particularly those with galvanized steel supply lines or original compression faucets from the 1970s, often discover during a repair that the underlying plumbing needs attention beyond a simple washer swap. If the shut-off valves under the sink are stuck or will not fully close, do not force them. Forcing a stuck shut-off valve can shear the valve stem and leave you with no way to stop the water without going to the main supply.
A qualified plumber in Columbia South Carolina can assess older plumbing systems, handle stuck or broken shut-off valves, and replace corroded valve seats properly without risking further water damage.
How Long Does a Faucet Repair Take?
For most homeowners doing this for the first time, expect to spend between 30 and 60 minutes on a straightforward compression or cartridge faucet repair. Ball faucets with their multiple internal components can run closer to 90 minutes if it is your first time working on one.
If you are struggling for more than an hour without making clear progress, that is a reasonable indicator that a professional call is the more sensible next step.
Frequently Asked Questions
Can I fix a leaky faucet without turning off the main water supply?
You can use the individual shut-off valves under the sink rather than the whole house main, but you should never work on a faucet without shutting off the water at some point in the supply line. Even a brief burst of pressure during disassembly can send water spraying across your bathroom.
How do I know if I need to replace the whole faucet rather than repair it?
If your faucet is more than 15 to 20 years old, if replacement parts are no longer manufactured for it, or if the body itself shows cracking or severe corrosion, a full replacement is more cost effective than repeated repairs.
Will fixing a leaky faucet lower my water bill?
Yes, and the savings are real. Depending on local rates, a single dripping faucet can add $35 to over $100 to annual utility bills, and that figure climbs if the leaking faucet is connected to hot water.
What is the most common cause of a leaky faucet?
Worn rubber components are responsible for the vast majority of faucet leaks. Rubber washers, O-rings, and cartridge seals all degrade over years of use, heat cycling, and contact with chlorinated water. Replacing these small, inexpensive parts resolves most household faucet leaks permanently.